> ## Documentation Index
> Fetch the complete documentation index at: https://docs.nscale.com/llms.txt
> Use this file to discover all available pages before exploring further.
# Custom Images
Custom images let you upload your own OS image (QCOW2 or RAW format) to use as the base when creating instances. Use them for hardened baselines, pre-configured environments, or any OS build that isn't available as a pre-provisioned image. Unlike snapshots (which copy an existing instance's disk), custom images are uploaded from an external source.
**Prerequisites:** You need an existing project and a custom image file in **QCOW2** or **RAW** format.
## Availability
This feature is currently available for the Reserved cloud service environment.
**Supported formats:** Only **QCOW2** and **RAW** image formats are supported. Other formats (e.g., VMDK, VHD) must be converted before uploading.
**Region-scoped:** Custom images are available only in the region where they were uploaded.
## Requirements
* An existing **project** to place the resulting instance into
* A custom image file in a supported format (**QCOW2** or **RAW**)
## Image Preparation
Before uploading, ensure your image:
* Uses a supported OS (Linux distributions with cloud-init support are recommended)
* Has **cloud-init** installed and configured for first-boot setup (SSH key injection, hostname, etc.)
* Is reasonably sized — large images will take longer to upload and provision
* Has any required GPU/NVIDIA drivers pre-installed if you intend to use GPU node types
## Custom Image Lifecycle
| Action | Details |
| ------------------- | ---------------------------------------------------------------- |
| **Upload** | Upload a QCOW2 or RAW image file via the console |
| **Create instance** | Select the custom image as the base when creating a new instance |
| **Delete** | Remove the image from your project |
**Deleting a custom image** does not affect instances that were already created from it. Those instances continue to run with their own copy of the disk.
## Step-by-Step
### **Upload a custom image**
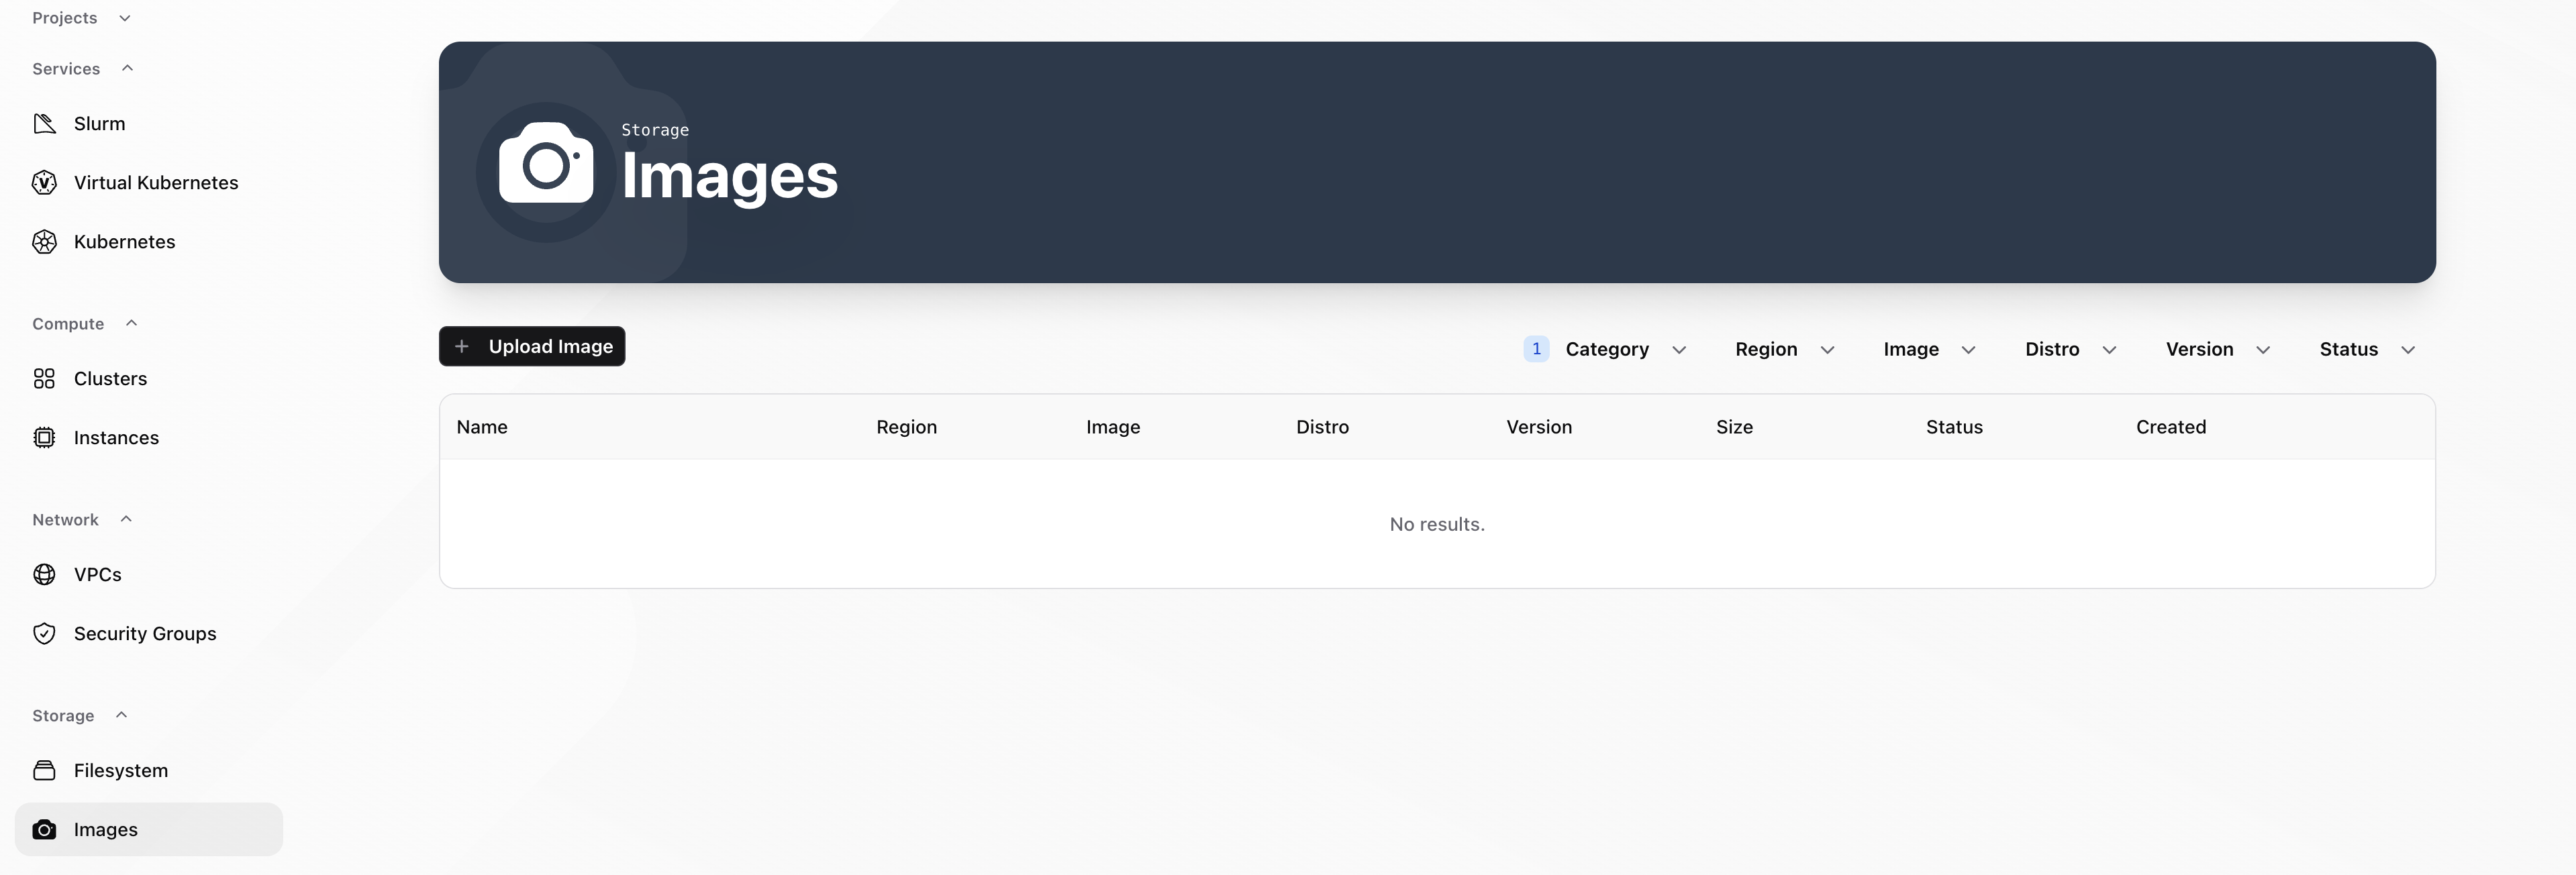
1. In the Console, open your project, then go to **Storage → Images**
2. Select the **"Upload Image"** button to begin the custom image upload flow
3. Provide your image file in a supported format (**QCOW2** or **RAW**)
4. Verify the image is available and visible within the list of Custom Images: you can filter between custom images and snapshots by clicking on "Category" on the right side and then filter for the respective image type
 ### **Create an instance from a custom image**
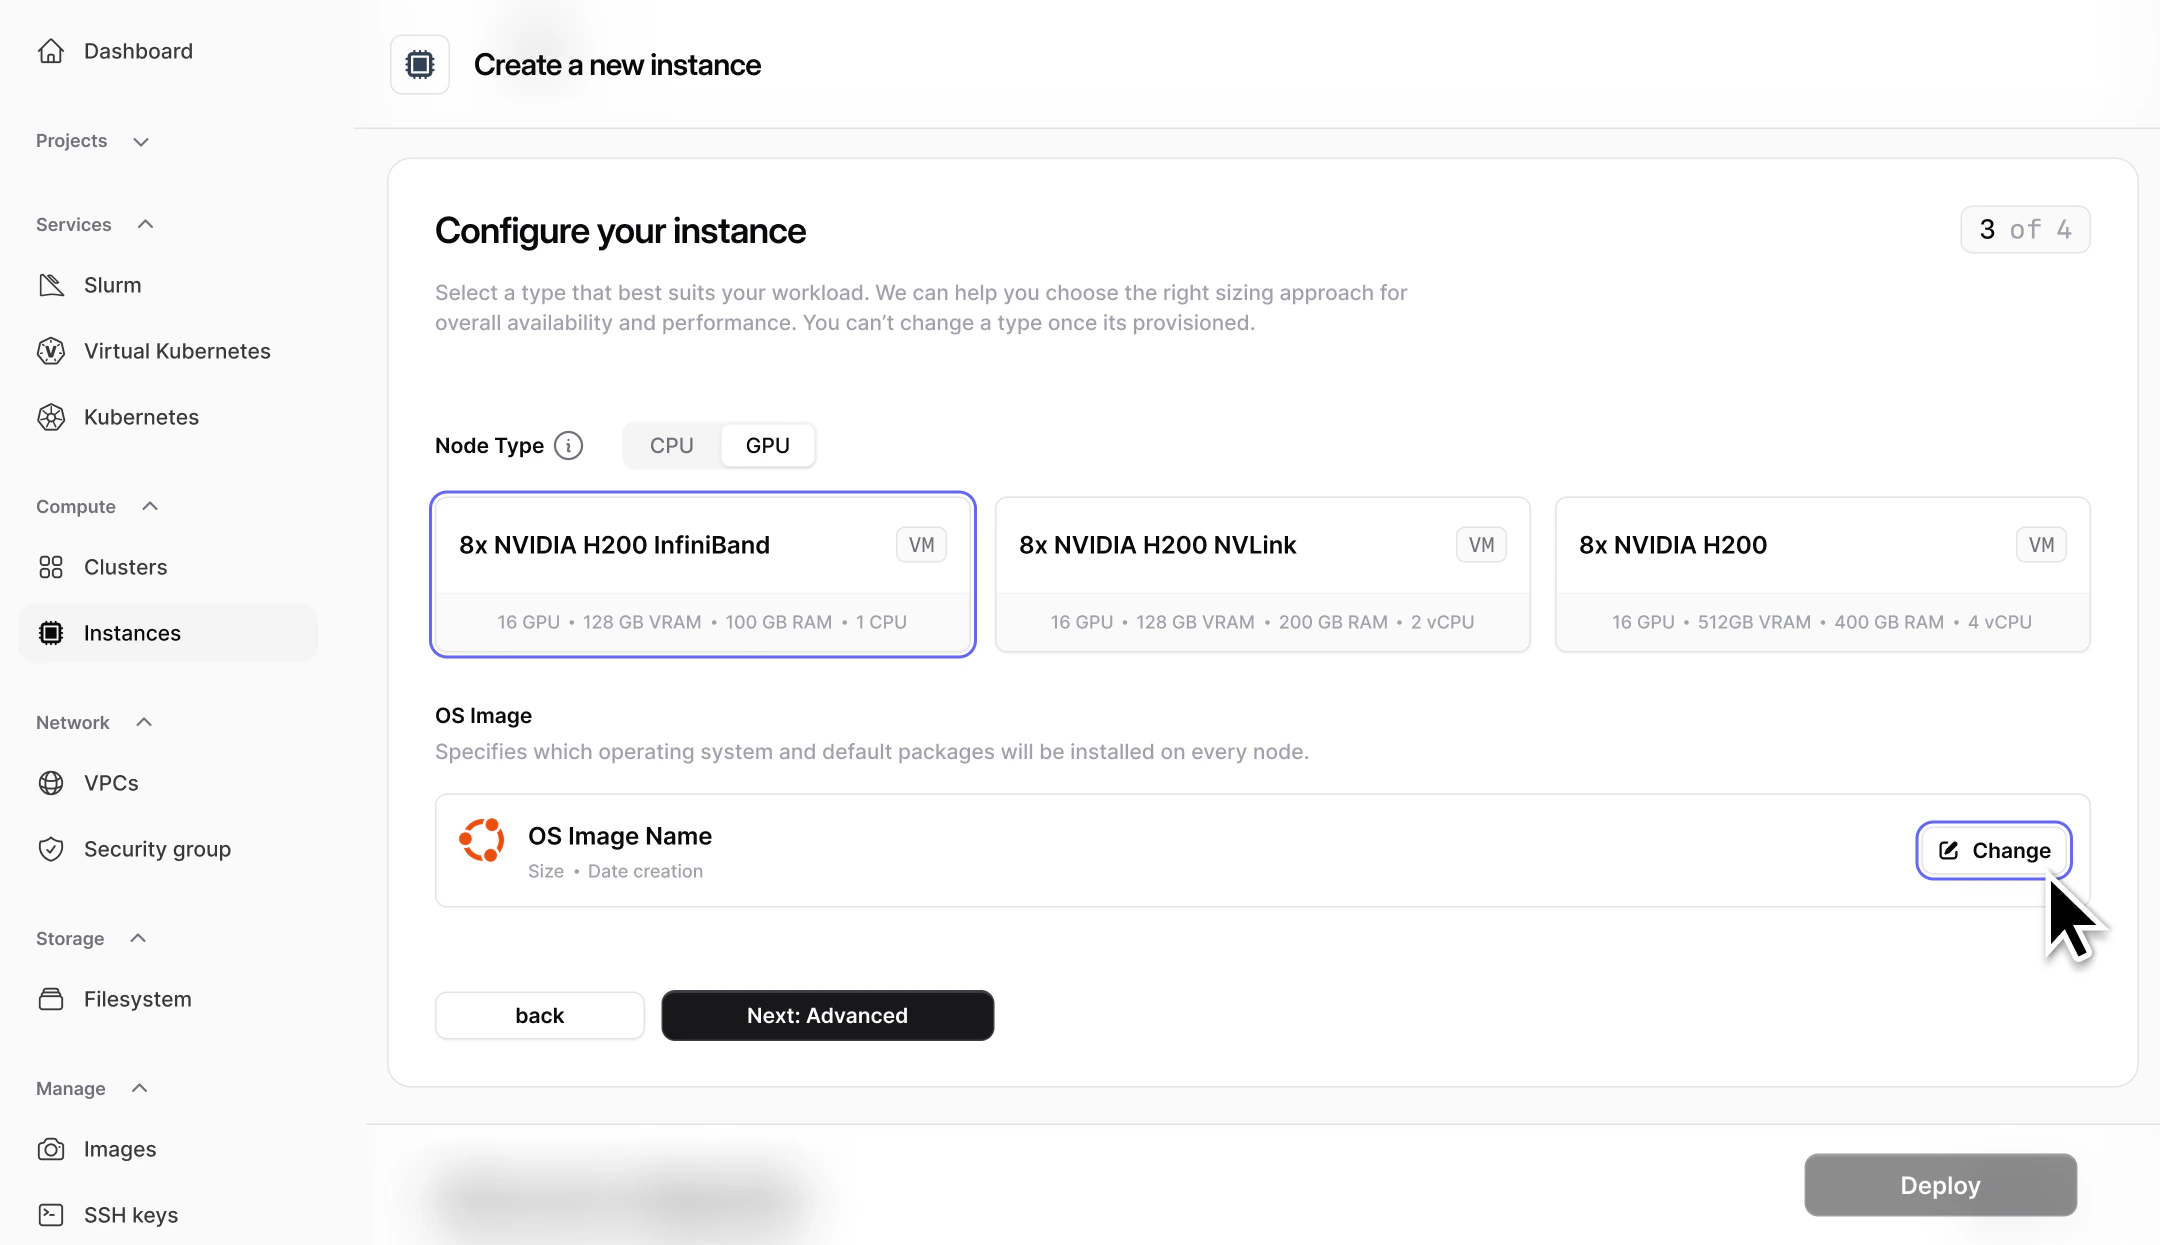
1. In the Console, open your project, then go to **Compute → Instances** and follow the [create instance flow](/docs/compute/create-new-instances)
2. When configuring the instance, select **Custom Image** as the image source (instead of pre-provisioned image or snapshot)
### **Create an instance from a custom image**
1. In the Console, open your project, then go to **Compute → Instances** and follow the [create instance flow](/docs/compute/create-new-instances)
2. When configuring the instance, select **Custom Image** as the image source (instead of pre-provisioned image or snapshot)
 ## Quotas
To check your current image quota, go to the **Resource Usage** section on the **Dashboard**. The dashboard shows image counts alongside GPU, server, cluster, network, and filesystem quotas.
## Common Issues / Troubleshooting
* **Symptom:** Your custom image upload fails or the image is rejected.
**Likely cause:** The image format is not supported (only QCOW2 and RAW are accepted).
**Fix:** Convert your image to QCOW2 or RAW format before uploading. You can use `qemu-img convert` to convert between formats.
* **Symptom:** An instance created from the custom image doesn't boot or has no SSH access.
**Likely cause:** The image doesn't have cloud-init configured or the SSH key injection didn't work.
**Fix:** Ensure cloud-init is installed and properly configured in the image. Verify that the image's boot configuration is compatible with the Nscale compute environment.
***
## Related Resources
Create instances using your custom images
Create point-in-time copies of existing instances instead
Manage images programmatically via the Networking and Storage API
## Quotas
To check your current image quota, go to the **Resource Usage** section on the **Dashboard**. The dashboard shows image counts alongside GPU, server, cluster, network, and filesystem quotas.
## Common Issues / Troubleshooting
* **Symptom:** Your custom image upload fails or the image is rejected.
**Likely cause:** The image format is not supported (only QCOW2 and RAW are accepted).
**Fix:** Convert your image to QCOW2 or RAW format before uploading. You can use `qemu-img convert` to convert between formats.
* **Symptom:** An instance created from the custom image doesn't boot or has no SSH access.
**Likely cause:** The image doesn't have cloud-init configured or the SSH key injection didn't work.
**Fix:** Ensure cloud-init is installed and properly configured in the image. Verify that the image's boot configuration is compatible with the Nscale compute environment.
***
## Related Resources
Create instances using your custom images
Create point-in-time copies of existing instances instead
Manage images programmatically via the Networking and Storage API